5. Flashing a debuggable bootloader
Programmable XBee modules come from the factory with a locked bootloader, meaning that the bootloader is not debuggable. The first task to being able to create, edit, and run applications is to compile the debuggable bootloader and upload it to the XBee module.
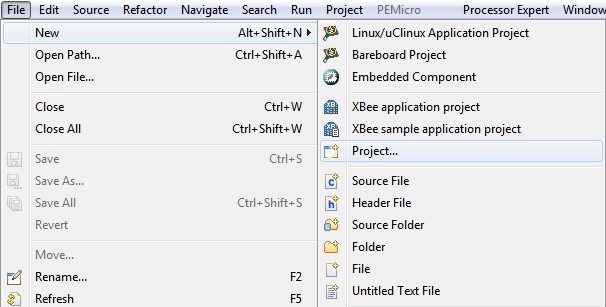
From the File menu select New > Project... option.
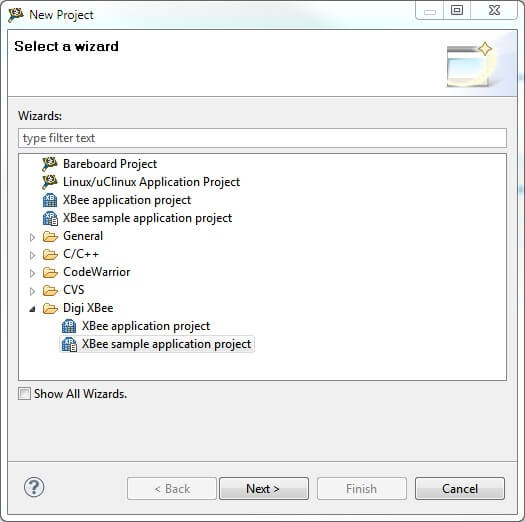
The New Project wizard is displayed. Select XBee sample application project under the Digi XBee folder and click Next to start the wizard.
Configure the settings of the XBee module to be used in the XBee Device settings page.
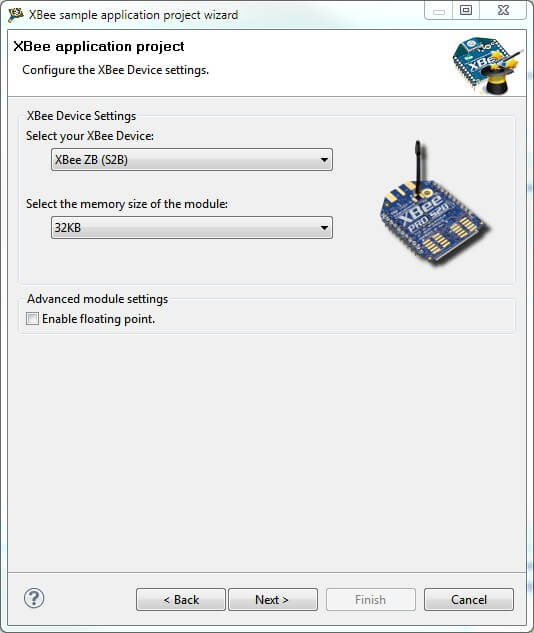
- Module type. Choose between the XBee ZB (S2B) or XBee ZB (S2C) module.
- Memory size. Select the memory size of your module, 32Kb or 128Kb.
Click Next to continue.
Sample selection page lists available sample applications with full source code. It has automatically filtered the list to display only those examples compatible with the module settings you configured in the previous page.
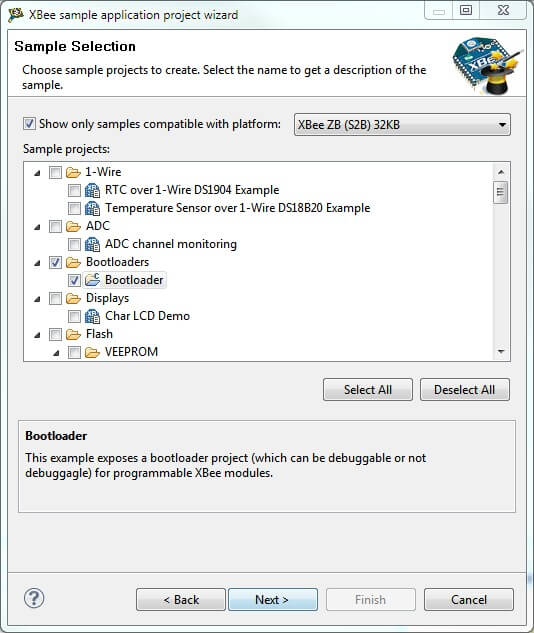
Select the Bootloader project from the list and click Next to continue.
The last page of the wizard shows a list of selected samples and a summary with the module settings. To make changes, click Back.

To create the bootloader project, click Finish.
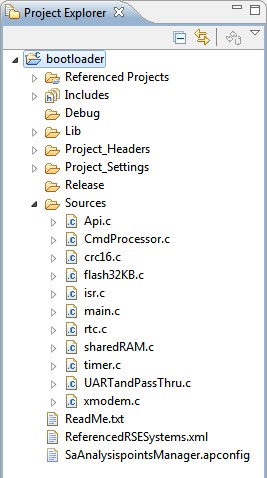
The bootloader project will display on the Project Explorer view and the main.c file will automatically open.
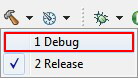
The bootloader project has 2 build configurations, Debug and Release.
Building the project using the Debug configuration will generate a bootloader debuggable. Building it using the Release configuration will generate a non debuggable bootloader. In our case, we want to flash a debuggable bootloader, so you must build it using the Debug configuration.
To do so, select the project in the Project Explorer view. Then, in the Build action of the main toolbar (the hammer), select the Debug option from its drop-down menu.
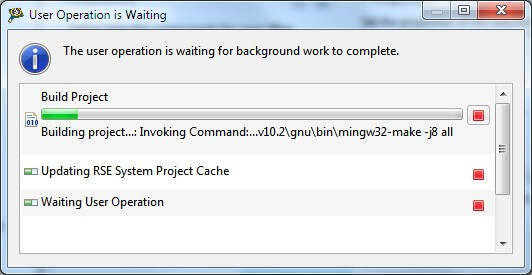
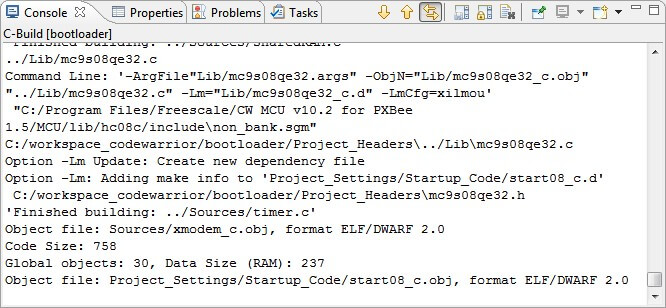
The build process takes a while and displays its progress through a progress dialog and the Console view of the IDE.
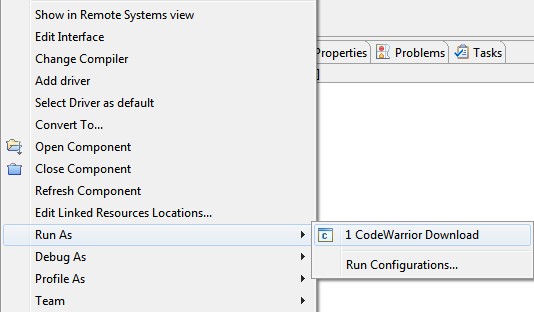
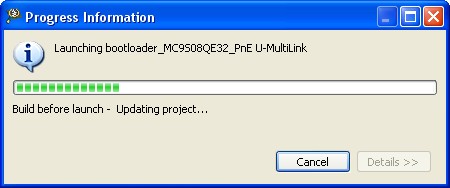
With the binaries of the project generated for debug it is time to launch it. To do so select your project in the Project Exporer view, right click it and go to Run As > CodeWarrior Download to launch the bootloader project in the XBee module.
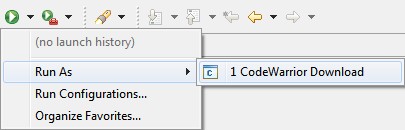
In the future, you can launch your project by clicking the Run button from the main toolbar.
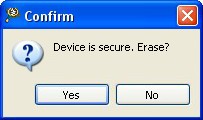
If you get a message like the following, it means that the XBee module has a non-debuggable bootloader flashed. Click Yes to continue.
A progress dialog will display the status of this process.
Once the bootloader is successfully loaded, you can start creating applications and debug them.
5.1. Accesing the bootloader menu
If your XBee module already has any application running on it, you must follow the instructions located at 10.1. Getting back into the bootloader in order to display the bootloader menu. Otherwise keep on reading.
5.1.1. Serial connection
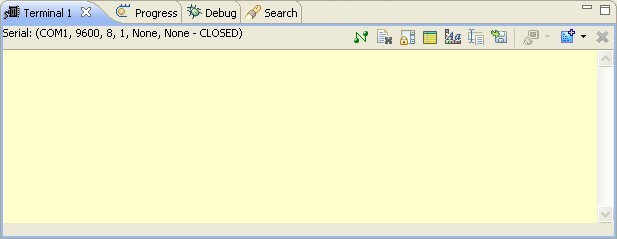
You can access the bootloader menu by opening a serial connection with the XBee module (mounted in a XBIB device).
To do so, you must configure a Serial Terminal using the Terminal view of the Digi XBee perspective. If you don't have it already displayed, you can do it by clicking on  Window > Show view > Other... and click on Terminal view under Terminal category.
Press the Settings button of the toolbar to access the Terminal settings.

Once there, configure the terminal with Serial as Connection type and specify the communication port and its settings.
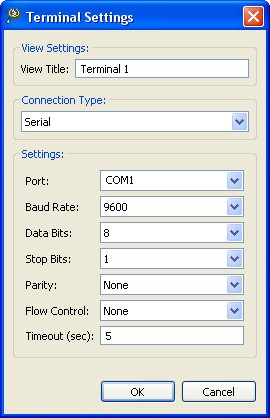
Click OK to save the changes and press the Connect button to establish the serial port connection with the XBee module.

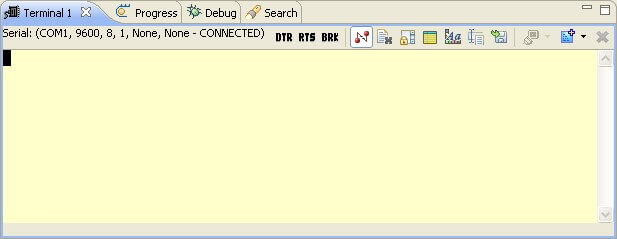
Press <Enter> a couple of times to display the bootloader menu through the serial terminal.
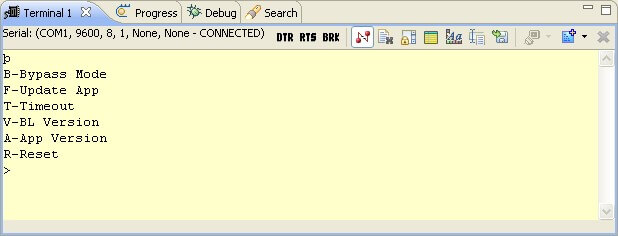
5.1.2. Bootloader options
The bootloader accepts commands from both the local UART and OTA. All OTA commands sent must be Unicast with only 1 byte in the payload for each command. A response will be returned to the sender. All Broadcast and multiple byte OTA packets are dropped to help prevent general OTA traffic from being interpreted as a command to the bootloader while in the menu.
Bypass Mode - "B"
The bootloader provides a "bypass" mode of operation that essentially connects the SCI1 serial communications peripheral of the freescale mcu to the EM250's serial Uart channel. This allows direct communication to the EM250 radio for the purpose of firmware and radio configuration changes. Once in bypass mode, the XCTU utility can change modem configuration and/or update EM250 firmware.
Bypass mode automatically handles any baud rate up to 115.2kbps. Note that this command is unavailable when module is accessed remotely.
Update Firmware - "F"
The F command initiates a firmware download for both wired and over-the-air configurations. Depending on the source of the command (received via Over the Air or local UART), the download will proceed via wired or over-the-air respectively.
Adjust Timeout for Update Firmware - "T"
The T command changes the timeout before sending a NAK by Base-Time*2^(T). The Base-Time for the local UART is different than the Base-Time for Over the Air. During a firmware update, the bootloader will automatically increase the Timeout if repeat packets are received or multiple NAKs for the same packet without success occur.
Bootloader Version String - "V"
The V command provides the version of the currently loaded bootloader. The version will return a string in the format BLFFF-HHH-XYZ_DDD where FFF represents the Flash size in kilo bytes, HHH is the hardware, XYZ is the version, and DDD is the preferred XMODEM packet size for updates. Double the preferred packet size is also possible, but not guaranteed. For example "BL032-2B0-023_064" will take 64 byte CRC XMODEM payloads and may take 128 byte CRC XMODEM payloads also. In this case, both 64 and 128 payloads are handled, but the 64 byte payload is preferred for better Over the Air reliability.
Application Version String - "A"
The A command provides the version of the currently loaded application. If no application is present, "Unkown" will be returned.
Reset - "R"
The R command resets the XBee module.